Tag: Growing Food
Maple Syrup Flavored Hot Chocolate From The Tree In Front Of My House!


This is now the third year that I have tried to harvest sap from the tree in front of our house in the middle of the City Of Saint Louis, and I finally had a tiny bit of success. Like, one quarter cup of success. We installed a sap tap on two different maple trees yesterday (Saturday, January 25th, 2025) and by today (Sunday, January 26th, 2025) had harvested 8 cups of sap. I cooked that down to about one quarter cup of maple syrup, which sure looks like almost nothing. After cooking the sap down to syrup it seemed like there was too much maple syrup still clinging to the pan so I decided to make good use of that by warming milk in that pan, which dissolved the syrup that had been solidified onto the pan, and that worked very well. Added cocoa powder and a quarter teaspoon of vanilla and I had a cup of hot chocolate, sweetened by syrup that had come out of a tree that same day. Kinda cool.
Frost Looming? Bring In Those Green Tomatoes!


November 2nd, 2023 – USDA Hardiness Zone 6B (always check the zone when reading about gardening! What the author is saying might not apply to your location at all if they’re in a very different growing zone)
A hard frost ended the season here this week – temperatures below freezing for two nights in a row meant the end of the road for our outdoor tomato ambitions. I’m just putting up this blogpost to either remind or inform people that green tomatoes will (or at least might) ripen nicely if they’re brought in before the first freezing temperatures of the season and stored correctly. I did that for the first time last year and was pleasantly surprised at how well that worked out. Even very green tomatoes ripened nicely and were completely usable. The video that I watched on Youtube showed that tomatoes should probably not be stacked more than a single layer high; I stacked some in two layers (small tomatoes) and it seemed to be ok.
This blogger says that completely immature and shiny tomatoes will not ripen, which is bad news because this year most of the green tomatoes that I brought in are completely immature and shiny. I’ll do an update to report back whether the green tomatoes from this year ripened as well as the ones from last year. The pictures shown above are the tomatoes from last year (2022) in the picture on the left, and our 2023 crop of greenies on the right.
Don’t let those laggard tomatoes go to waste!
My Dad Is Looking Smarter All The Time, And He’s Been Dead For 10 Years.
I just binge-watched all 10 seasons of Homestead Rescue, a ‘reality show’ series on the Discovery+ channel, over the last month. If you haven’t watched it, a man of many talents, Marty Raney, and his two adult children travel to various homesteads around the United States and provide some support, guidance and major construction help to people trying to live ‘a homestead lifestyle’ which usually involves providing most, if not all, of their food, water, energy and security needs from the resources on their homestead property. I won’t drag you through the sad details, but usually these folks have tried their hardest to supply themselves with what they need to survive but have fallen short and need help to get into a better position. My dad didn’t make most of the errors that show up in the episodes of Homestead Rescue, and I never really appreciated how well he did.
My dad was a visionary who was a generation ahead of his time. He was NOT a back-to-the-land hippie, though he shared their interest in living off the land and organic food; he was part of The Greatest Generation and grew up in the city. Even though he was saddled with 11 kids to feed and clothe, he managed to spend some time and effort working on providing heat from wood grown on our property, put a whole lot of beef, chicken and pork in our freezers and grow a lot of organic produce. We built a new house from mostly used materials (bricks, doors, windows, flooring and wood from buildings that were being torn down in the 70’s) and we did that almost entirely without professional help. They had little to no mortgage when we moved into that house in 1974. Dad chose a spot to build the house on top of a large hill, which seems to have prevented so many problems that show up on Homestead Rescue, so we never had water drainage issues. He built a 6 bedroom, sturdy, well-insulated home that has withstood high winds and big storms for over 50 years now. We had big vegetable gardens that produced a lot of food, which we ate, froze or canned. We needed 2 big chest freezers for years to preserve the bounty. With no mentor or a Marty Raney to swoop in to help, we raised chickens, ducks, geese, pigs, goats, cows and a friendly but rather worthless dog. Pops just figured it out, somehow. He always wanted to get solar power, but could never afford it, and never learned about DIY solar thermal. Every episode of Homestead Rescue brought up some issue that Dad had avoided in advance, by good judgement. He bought land in an area with good rains, low predator presence, good roads and proximity to amenities like hospitals and jobs. He got a good deal on the land by buying a big farm with his in-laws, splitting the place into 3 parcels and building a house from used materials.
I highly recommend the Homestead Rescue series, but my dad was one homesteader who never needed them.
I’m A Bloomsday Prepper And You Should Be One Too!

Are you as tired of bad news as I am? There is just no shortage of bad news related to the 8 billion humans now living on this planet, and it’s kind of our fault. We go to the news sites and click on the worst, most alarming headlines first – and it’s not a new phenomenon. The term “if it bleeds, it leads” is not a new concept. So it’s not a surprise that the news media focuses on bad news – a flood in the Democratic Republic Of Congo gets more attention since it killed about 140 people than an announcement of new housing for the homeless being funded in Saint Louis.
So, fear abounds in a time of relative, by-historical-standards prosperous time, which has given rise to the doomsday prepper movement that is increasingly well-known as one crisis after another goose steps across our collective screens. I’ve been observing this movement, from a distance, for quite a few years and have found some of their work to be fascinating, to the point that I’ve tried to learn about how I might incorporate some of the techniques into my life, but for rather different reasons.
I think it’s a really good idea to be more prepared for loss of expected goods and services – like food, electricity, water, etc. I have mostly just expected those things to be easily accessible and they more or less have been, with a few notable exceptions. Things are changing, as usual, and prudence dictates that I change my habits to adapt. I’m trying to grow more food, produce more of the energy I consume, and learn how to thrive when the supplies I’m used to having aren’t available.
Being more prepared to be able to be resilient in the face of crisis is what I’m calling a bloomsday prepper because I think that we’re all in this together, and we’re stronger together. I have enough food for a couple weeks, some ways to generate electricity, ways to cook without the grid being up, water catchment, some basic medical supplies and relationships. I can run some electrical devices from the battery packs in our electric vehicles. What resources do you have? Look around, assess what you have and add a few things over time. You, too, can be a bloomsday prepper!
The Thrill Of Vacuuming Varmints


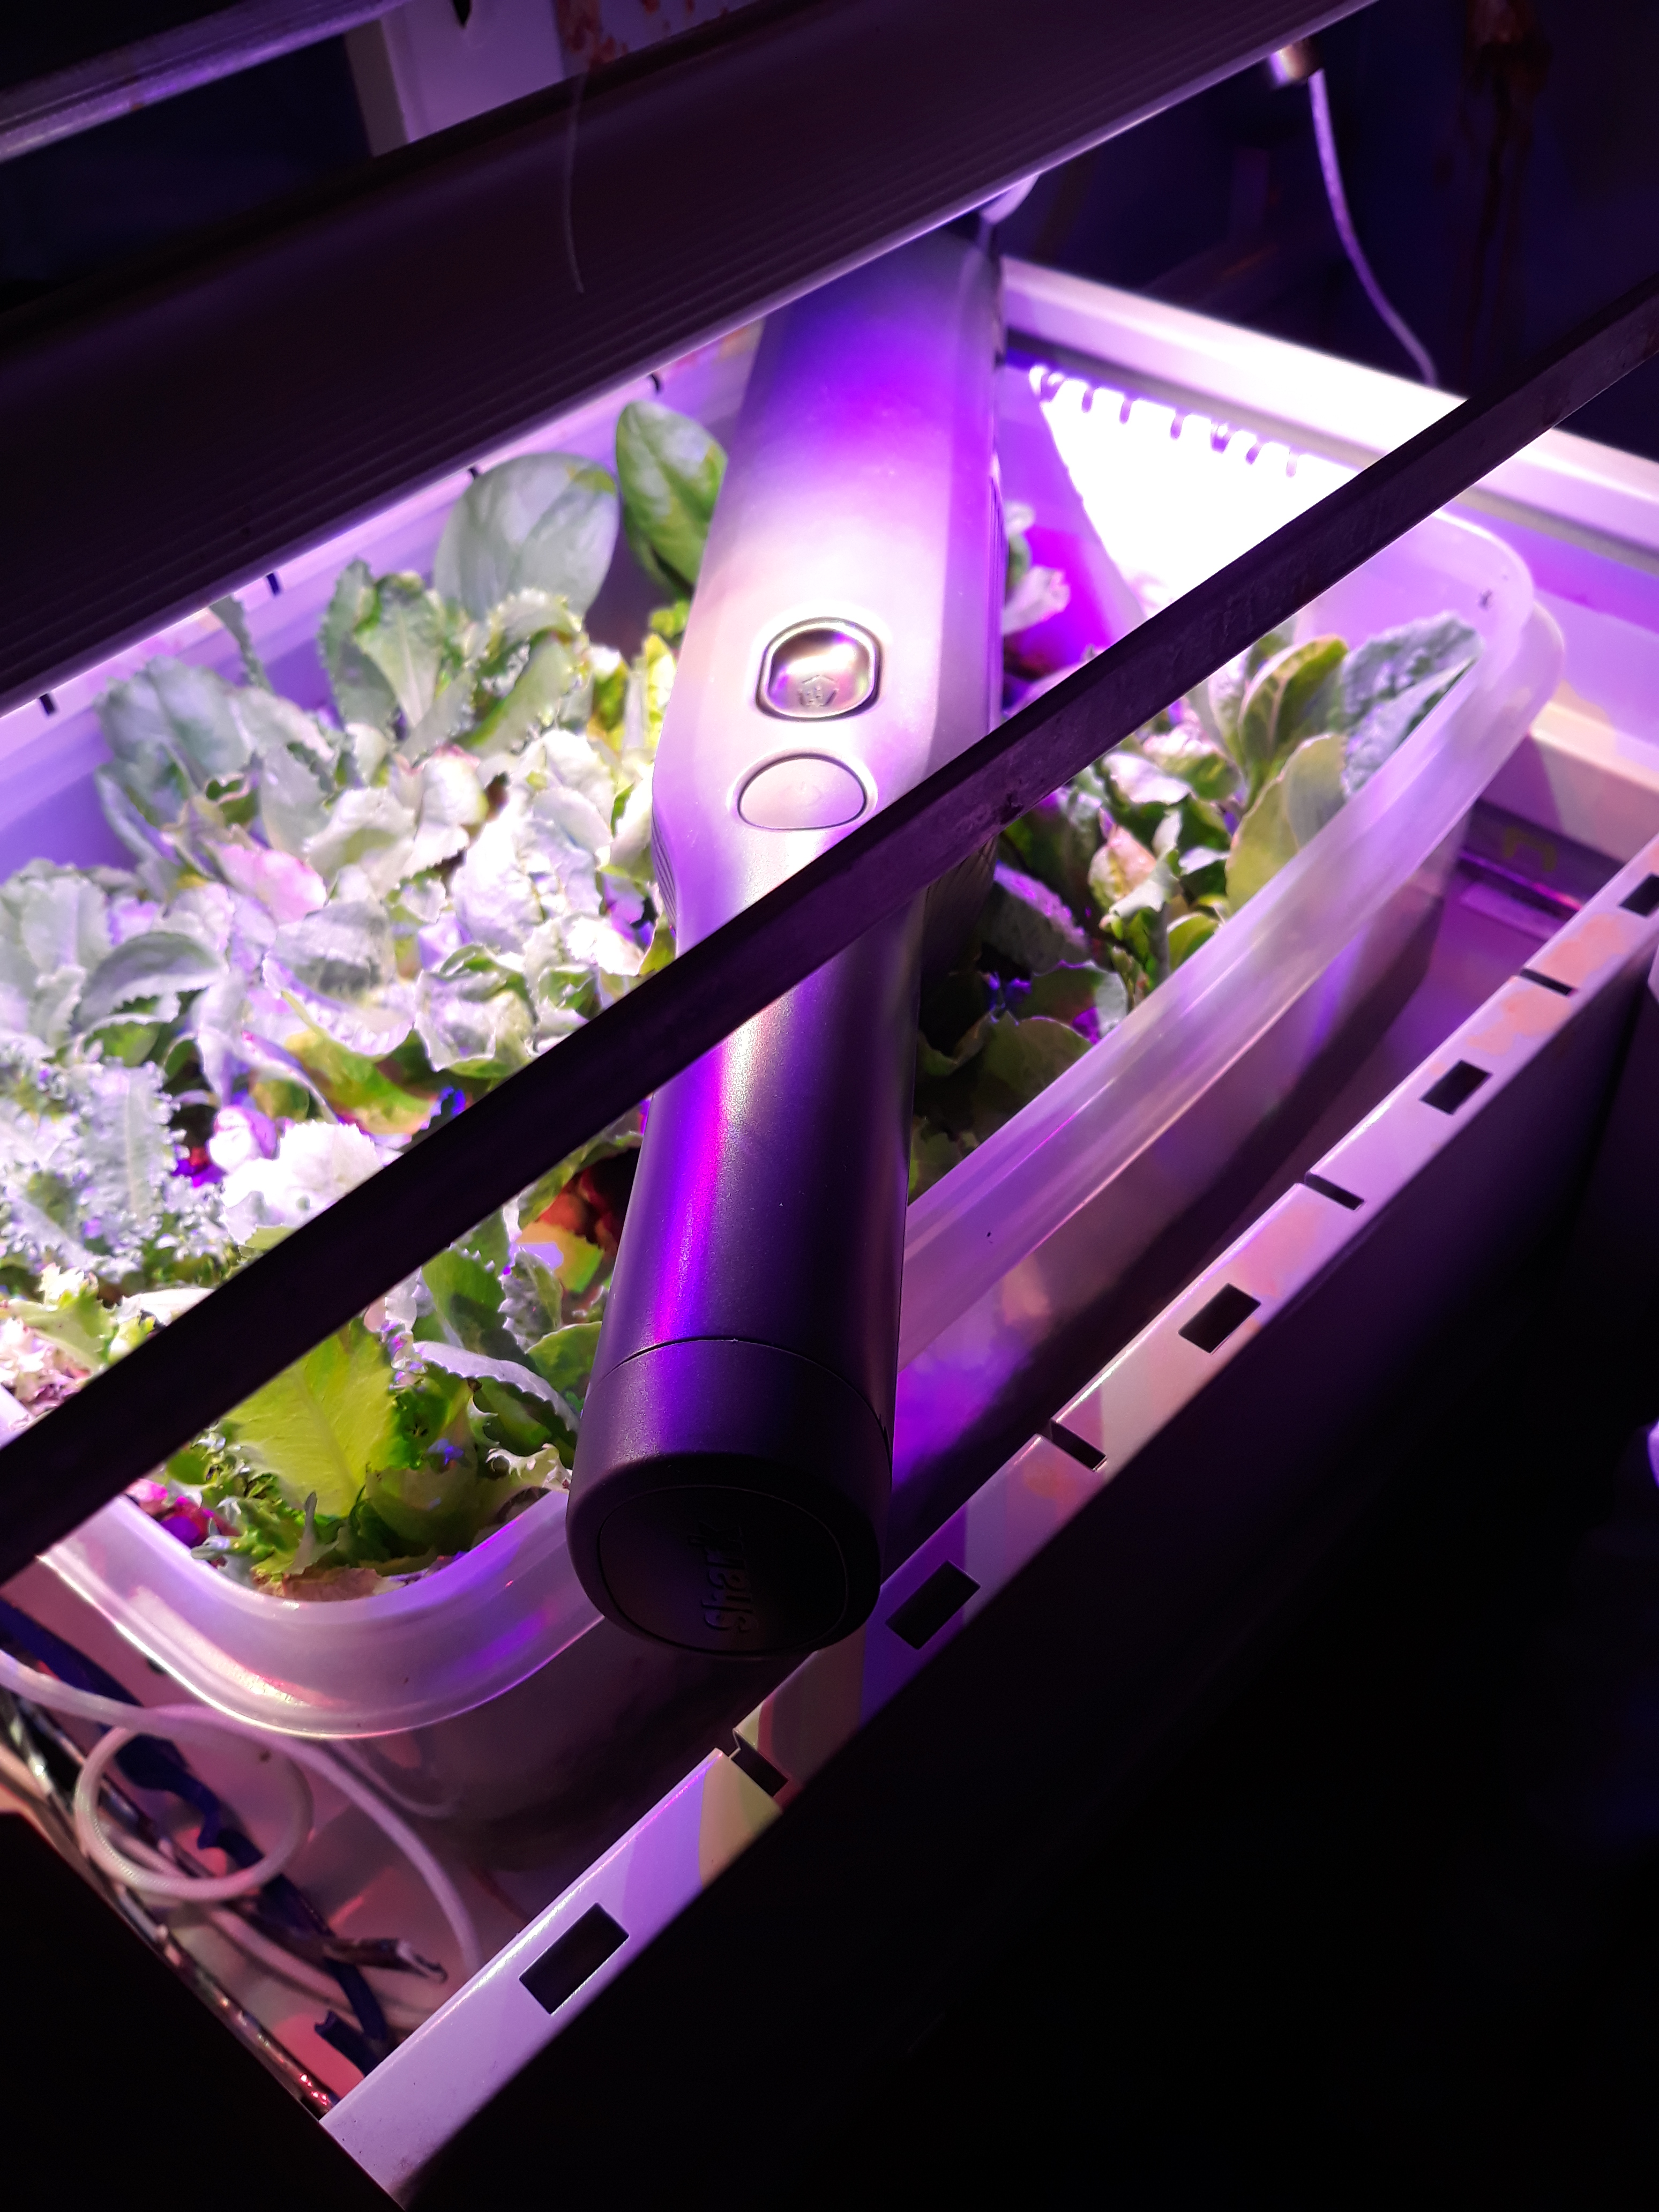

In the pictures above you can see my current hydroponic empire – a Tupperware container in the upper drawer of an old file cabinet – and yes, I should do a separate blog post on that. One of the big benefits of having this hydroponic setup in a file cabinet is the complete lack of pests even though I’ve been growing food in there for more than 6 months and have had serious pest problems when growing food in other parts of the house. A couple weeks ago I noticed really tiny black bugs were crawling around in my lettuce empire, and I was quite surprised – how could they have gotten there?? I got that answer about a week later when I suddenly had a large contingent of tiny flying black bugs rise up like a dark cloud when I opened the file cabinet drawer to inspect the crop. I tried killing them by hand, which had a pretty low success rate, and then I remembered the vacuum that I had purchased for squash bugs. Voila! Victory over diabolical bugs was swift with my vacuum! What a feeling of satisfaction; not something I feel all that often related to gardening.
I bought this lightweight vacuum off of Amazon.com but it’s probably available from a lot of places. At only about a pound and a half in weight this vacuum is super easy to use even with my arthritic hands. This is the first time I’ve used it to murder my enemies, but it sure worked well with this first try.
“I really Should Have Paid More Attention To My Italian Grandmother”, Or “Making Tomato Sauce From Scratch Guided By Somebody Else’s Grandfather On Youtube”
I really enjoyed the video of an Italian American grandfather making tomato sauce from scratch – “Traditional Homemade Tomato Sauce made by Pasquale Sciarappa”. Here’s the video, if you watch it and decide to try to make it his way, here’s my best interpretation of his instructions.
Let tomatoes rest 2 – 3 days after picking.
Wash Roma or San Marzano tomatoes well.
Cut off bad spots and the crown, as well as any internal ‘yellow’ spots, which are part of the crown/stem.
Cut in half, squeeze out seeds and liquidy-stuff in the interior of the tomato
Put in pot, cook over medium heat (??? just guessing) for about 45 minutes, then use very slotted spoon to pull solid tomato parts out of the pot – discard the liquid left behind??
Scoop tomato solids (??pulp) into strainer, let drain for a couple minutes
Run tomato solids (pulp) through a vegetable strainer machine that will quickly separate the skins and seeds from the rest of the tomatoes.
Compost the seeds/skins, or otherwise dispose of them.
Pour the tomato pulp from the straining process back into the pan on the fire and cook down for 3 to 4 hours, depending on how thick a sauce you prefer. Cooking longer yields a thicker sauce. A wood fire is used to do the cooking in this video, so I can’t quite say at what temperature the sauce mixture should be cooked, but it’s not boiling. Lots of steam is coming off the pot, so it’s more than a very low heat, so maybe a low simmer?
After 3 hours of cooking down the sauce, add salt to taste, stir.
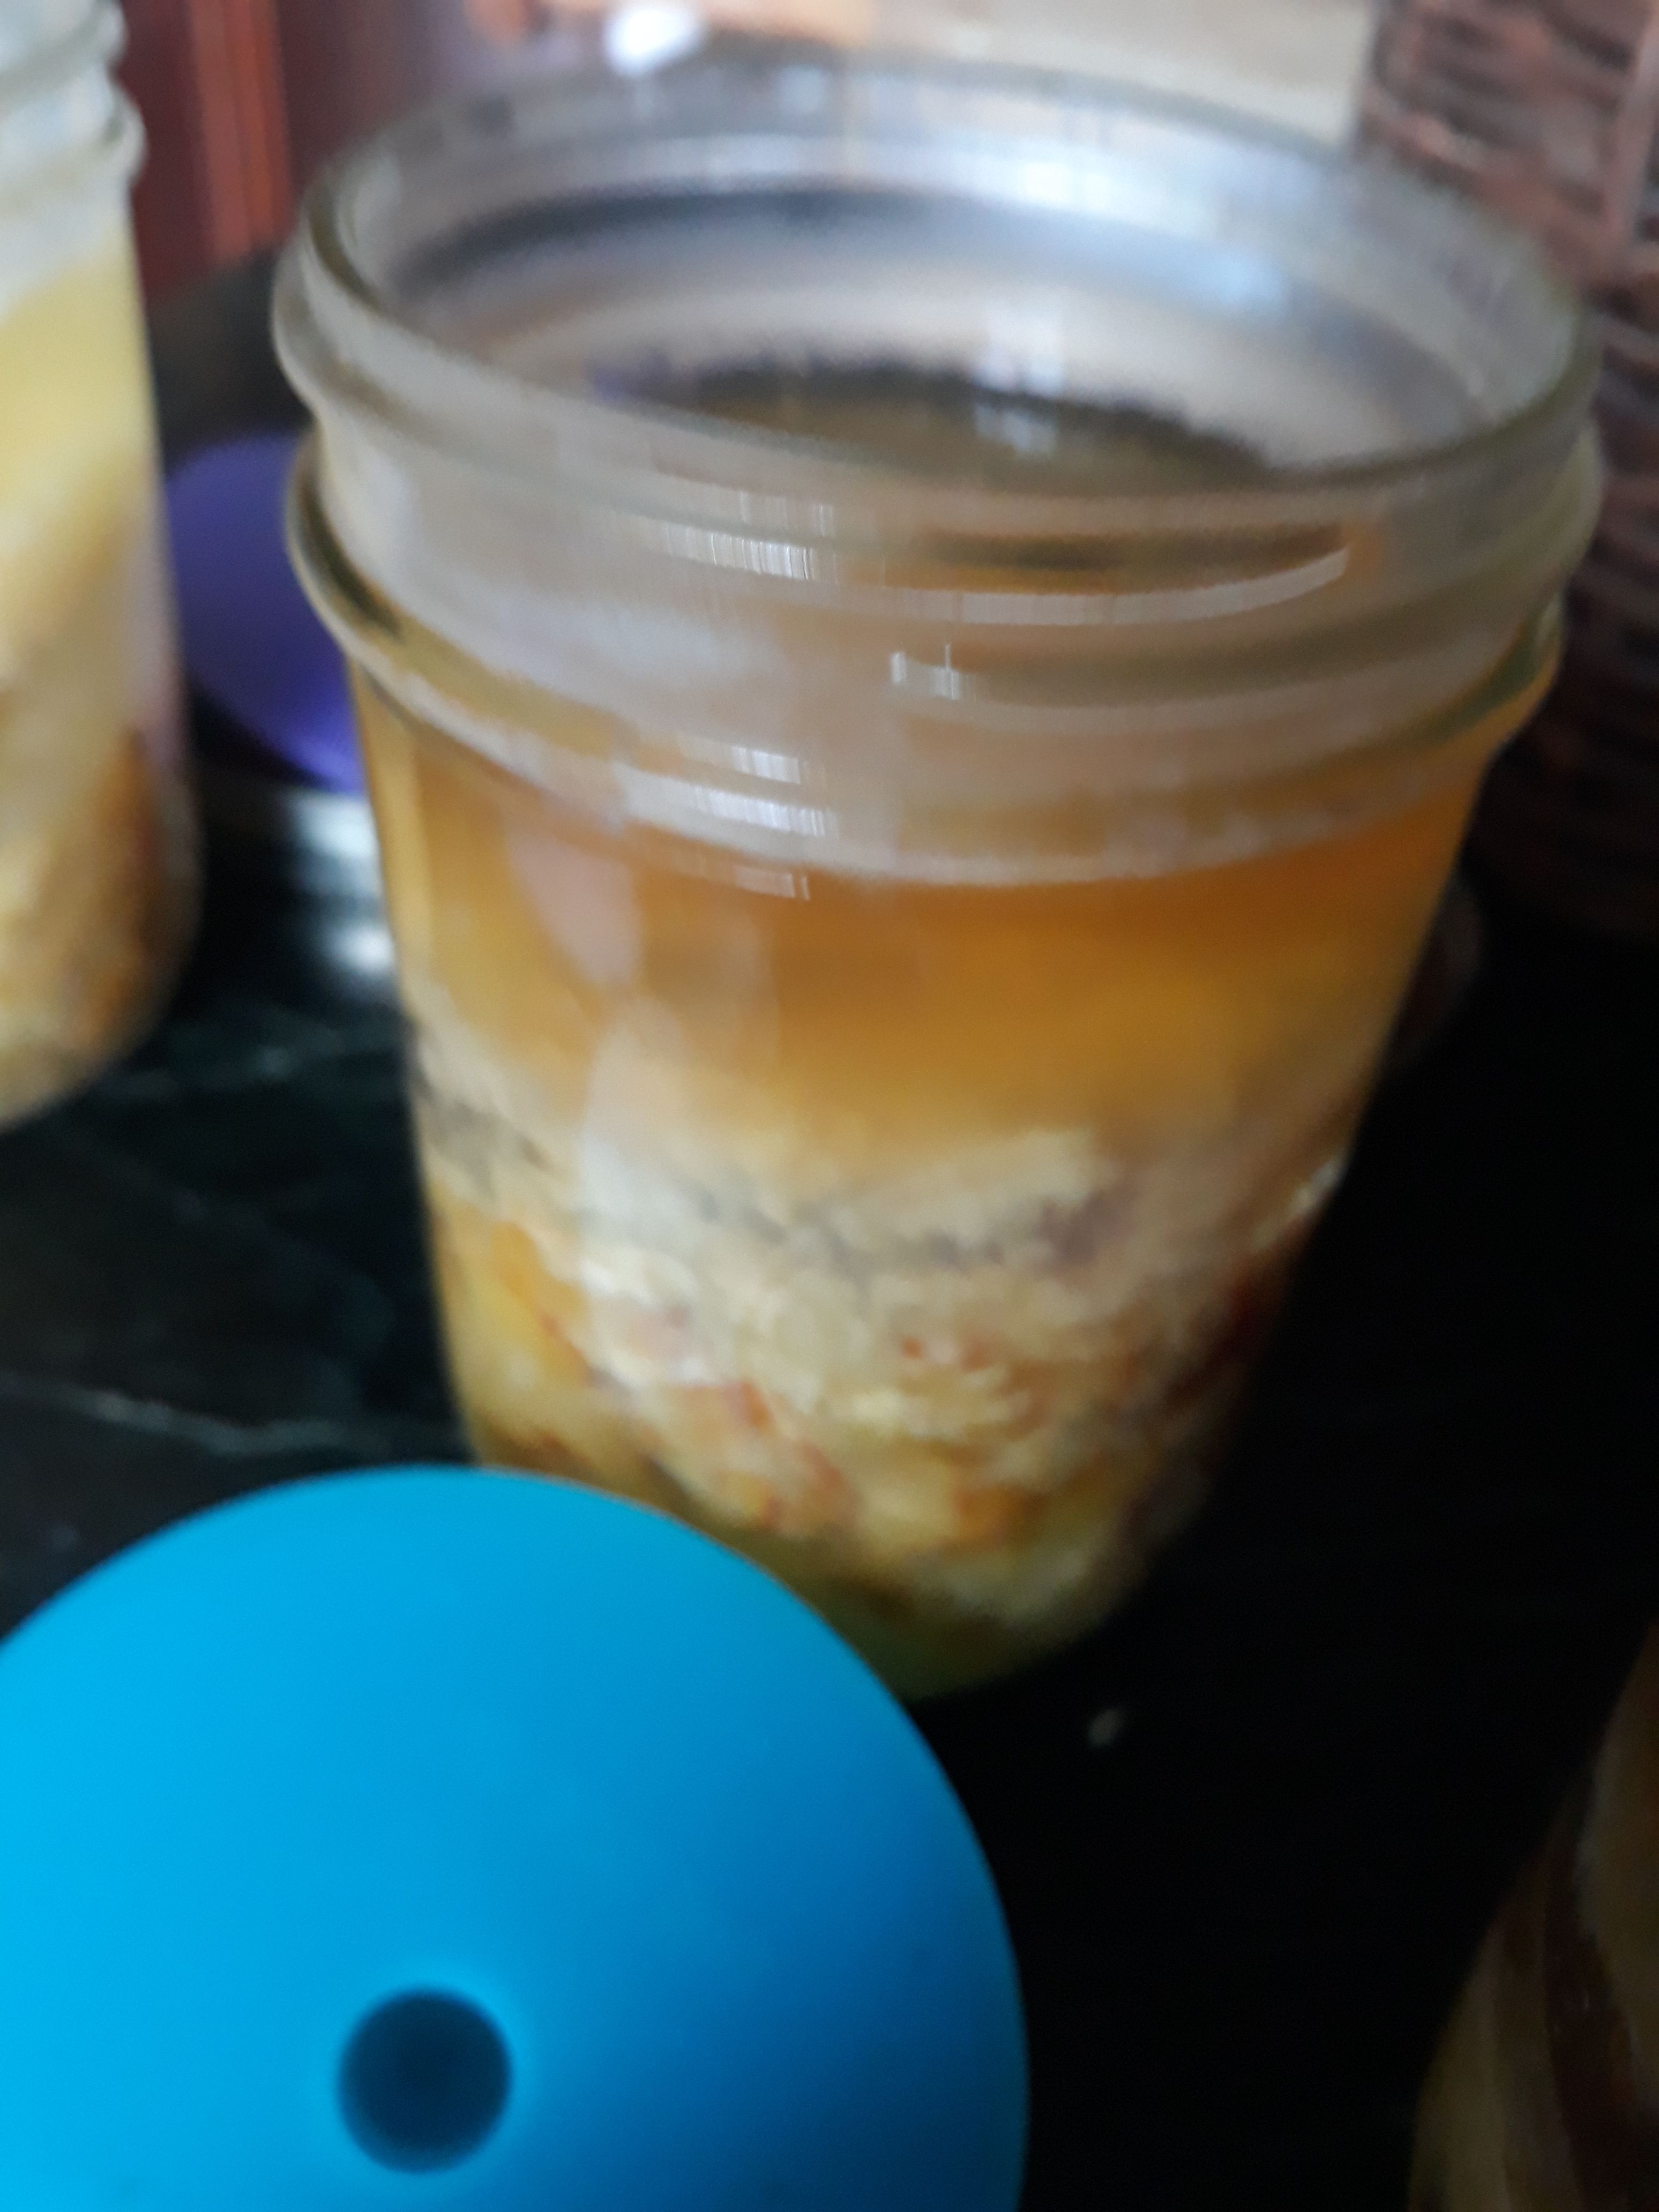
After 4 hours, ladle hot sauce into clean jars. Probably a good idea to use a funnel, keep the top rims of the jars clean, fill to about an inch from the top. Put about 2 fresh basil leaves per jar, push the leaves down into the jar of sauce with a spoon.
Place canning lids onto jars after checking to verify that the tops rims of the canning jars are completely clean. Screw canning jar bands somewhat loosely onto jars.
Let the jars sit for an hour?? I can’t quite tell, but I think he lets the jars sit for an hour before he screws the canning jar bands tightly onto the jars. But maybe not, because he wants these to continue to ‘cook’ under a blanket in the next step.
Place the filled jars close together into a short-sided cardboard box and cover tightly with a very warm blanket, covering the top, sides and bottom of the box, let sit for 3 full days. Or maybe he said 3 or 4 days? I’m not quite sure.
He doesn’t do any water bath boiling of the jars, which is pretty forbidden in the official Bar Jar Canning manual. Hasn’t killed him yet, and he says he’s been doing it since 1939.
Lock Your Doors. It’s Zucchini Season.


My brother told me years ago that someone told him that people in their small town didn’t lock the doors on their cars except in August. My brother said “why do people lock their car doors in August?” to which the reply was something like “because that’s when the zucchinis are ripe and if your car door is unlocked you might come back to a car full of zucchini”.
I can’t grow useful crops very much or for long, but boy, is it zuchini season in our middle east* raised bed! It was certifiably hotter than hades yesterday so I didn’t go outside, and you see the result above.
I also harvested some stevia, basil and mint to dry for later use. Being able to process fresh-from-the-garden food is critical to making a garden really useful. My garden doesn’t produce on demand – it’s not providing basil in December, for instance – so learning the best way to preserve food such that it provides sustenance when needed is critical. I suck at that too, but hopefully am learning.
Something else I learned is that the person who told me that stevia is hard to grow from seed wasn’t kidding. I saved a bunch of stevia seeds from my plants last year and planted them all this year – which netted me exactly zero stevia plants. I did a germination test beforehand and a fair number of those seeds germinated, but the overall germination rate seemed quite low – maybe 10% – 20% or so? It’s kind of hard to tell the seeds from the other fluff that grew around them, so maybe some of those specks weren’t actually seeds, meaning that the actual germination rate was higher? I’ll try again next year, focusing more on keeping the seeds in damp conditions until well after germination.
So if no stevia seeds germinated, how was I able to harvest some stevia for the picture above, you ask. I hedged my bets – I bought a couple stevia seedlings and planted those in a container, where they are doing just fine. It’s always a good thing to have a backup.
*We have 6 raised beds and we refer to them as either east or west, and top, middle or bottom, hence one bed is the middle east one.
Did I Do All This Work Just To Be Murdered By Vinegar?
I have been hearing so much from the interwebs about the benefits of fermented foods that I decided to buy some equipment (spending money is always the first step, right??) and give it a try. I bought a Mason Jar Fermentation kit like this (I don’t have any affiliate relationship with anybody, so wouldn’t make money from somebody clicking on that link) and put the parts I cut off of a pineapple – peels, mostly – into these jars and waited. I probably waited months (kind of forgot about them in the dark cabinet where I had parked these jars) and now I’m afraid to actually consume them. How do I know this stuff is safe to eat?


Stacy says it’s probably ok, as does Sandor, but I didn’t follow directions carefully. I let this ferment much longer than any recipe suggests. Based on their descriptions of kahm yeast, I think that’s what’s growing on these jars of fermented pineapple scraps. But there’s an old saying related to food in a questionable state : “when in doubt, throw it out”. I just let this stuff sit too long in an unrefrigerated cabinet so I’m tossing this batch, and will try again with the next pineapple, hopefully following directions a little better.
I think people share as well as they can in youtube videos to help others in learning new skills, but often there are a lot of questions left unanswered, and people like me, just picking stuff up on the internet, need to proceed with caution.
Fresh Tomatoes In December in Missouri, Locally Grown And Organic!


Full disclosure – I suck as a farmer.
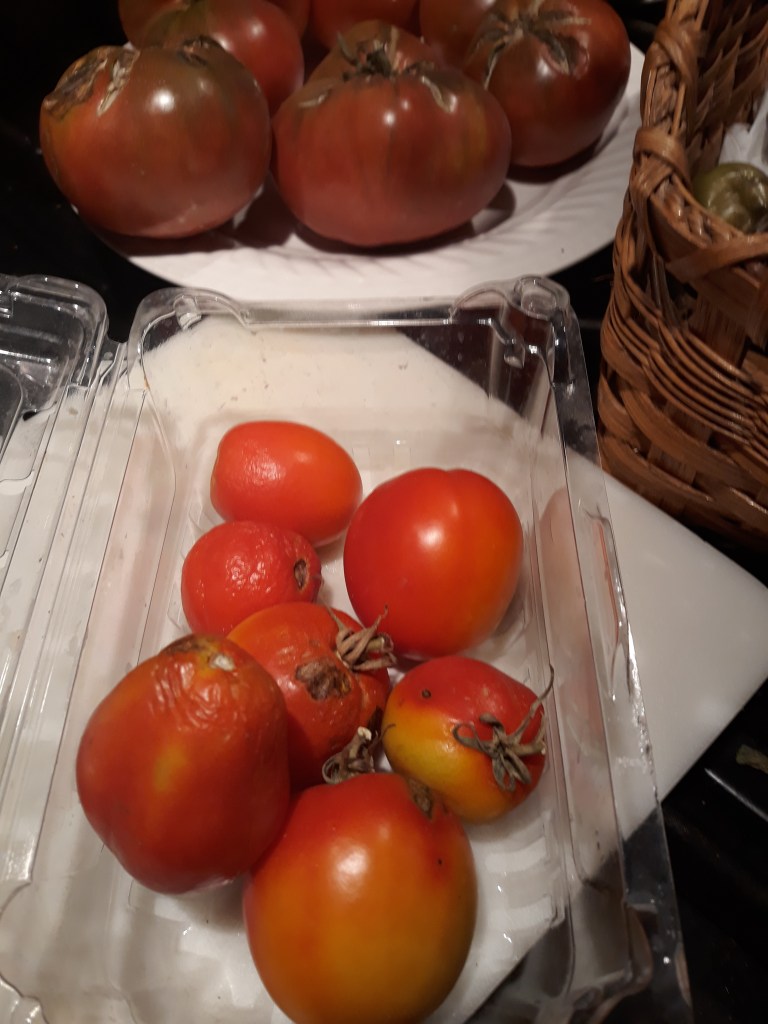
One of my goals these days is create more fresh food during the winter, which is not easy or common here in Missouri. Really knowledgeable farmers have been doing this for a long time, but one thing you learn quickly is that the weather is unpredictable, and you can lose a whole lot of plants that you put a lot of time and effort into with just one hard freeze. It happened to me about 2 weeks ago. I thought I had more time to get these tomato plants (being grown in containers) inside and onto the sun porch, but mother nature had other ideas. So, in the picture above on the right, you will see a very dead tomato plant which still has ripening tomatoes on it. My poor husband dragged this container in because I had hoped that the plant wasn’t ALL the way dead, but alas, it is deader than a doornail. The tomatoes on the plant were completely green when the plants were hauled inside a couple weeks ago, but have been basically hanging in the sun since then, and have ripened. SO, first batch of December tomatoes.
In the picture on the left (above) are a bunch of tomatoes which were completely green and had been on the plant for two nights of hard freezing temperatures in the garden. I hauled them inside, set them on a south-facing sunny window sill and they ripened up also. They’re Cherokee Purple tomatoes, which produced surprisingly well for us. This is the first time I’ve grown them, and I intend to keep growing them, if I’m able to harvest and correctly save their seed.
Stay tuned for more winter gardening adventures!
